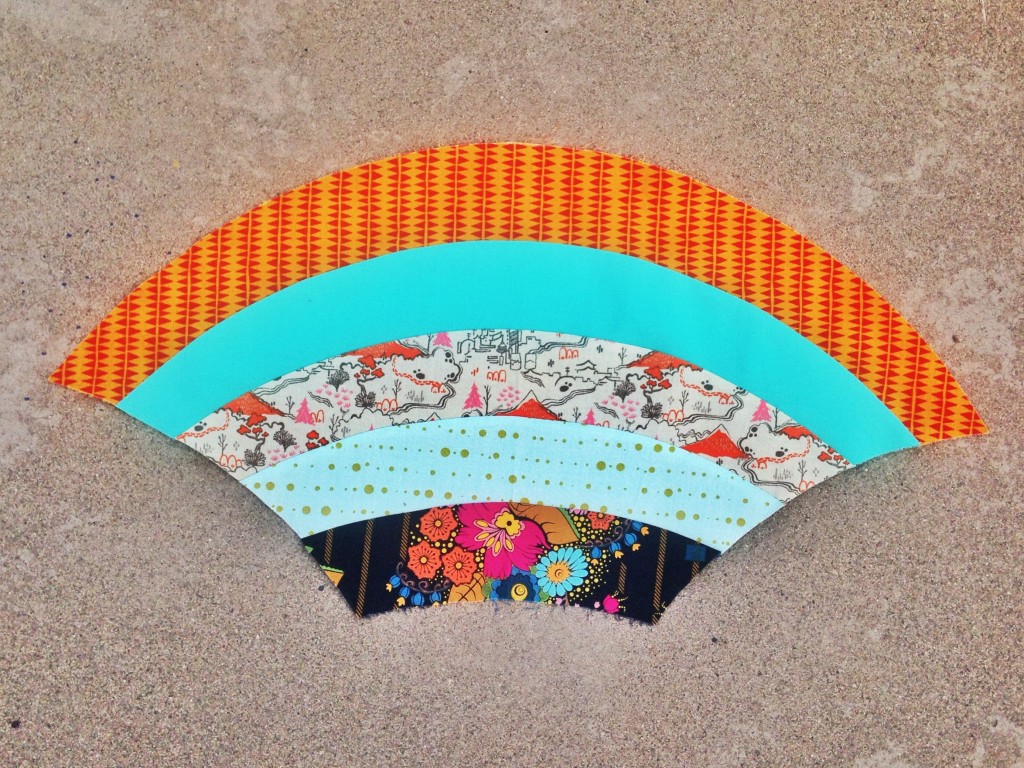
Piecing the Molehills Quilt is a lot easier than you think. Watch my YouTube video on Piecing Your Glam Clam Quilt to see a technique for sewing curves without pins (or with minimum pinning). We’re going to use the same basic technique for sewing your Molehills. But, if you remember from the cutting post the Molehills templates do not have tabs which makes for MUCH easier cutting. Yay! But, it also adds another step in the process since we still want to be able to sew the curves in smaller sections. That step is pressing.
STEP 1: Pressing
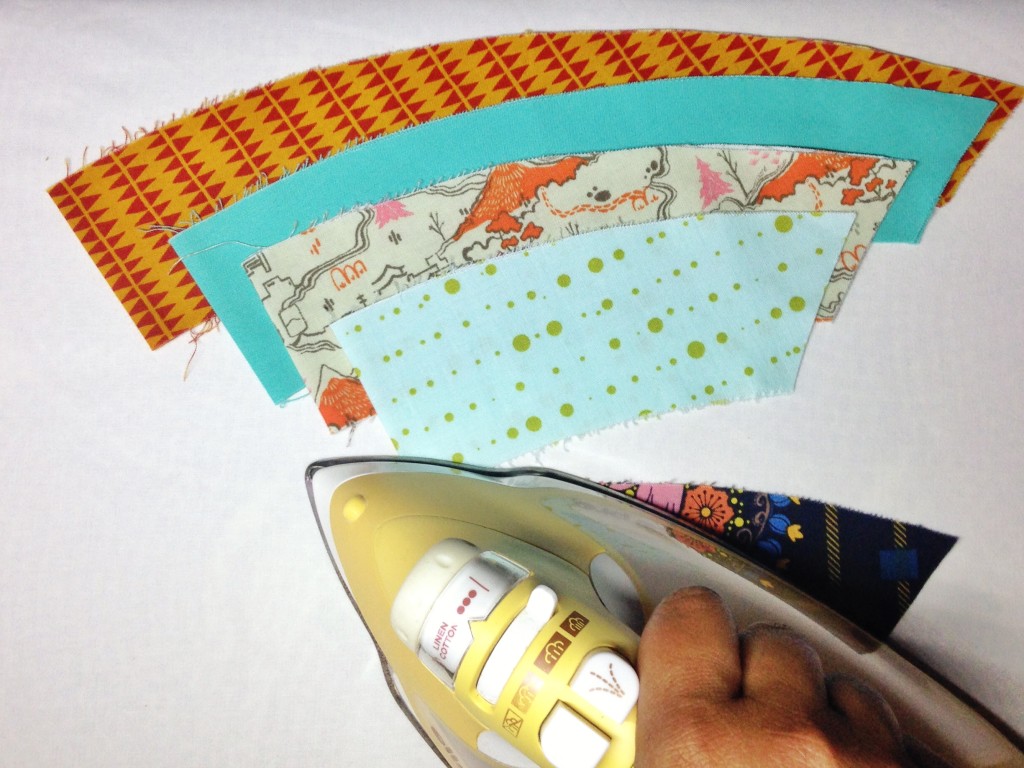
So, the first step is to press your registration marks. You can start pressing when you have one Molehills fan cut out or wait until you have your whole quilt cut out. Either way, I press one fan at a time. Press and stack that fan and place a pin through it to keep them together until you’re ready to sew.
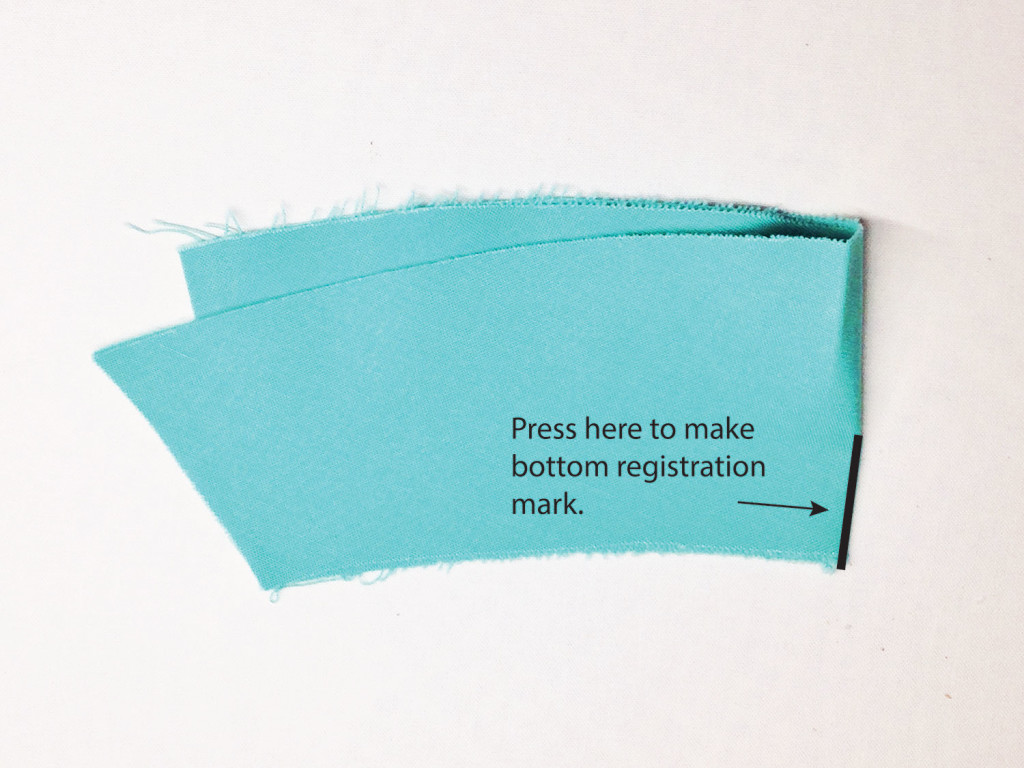
The center marks of each arc will be pressed first by simply folding in half by matching the ends and pressing a crease in the middle.
Since the curve on the top and the bottom are different sizes the remaining registration marks on the top and bottom are pressed separately. This is done by first matching the end of the top curve with the middle crease and press. Just press about an inch from the top edge.
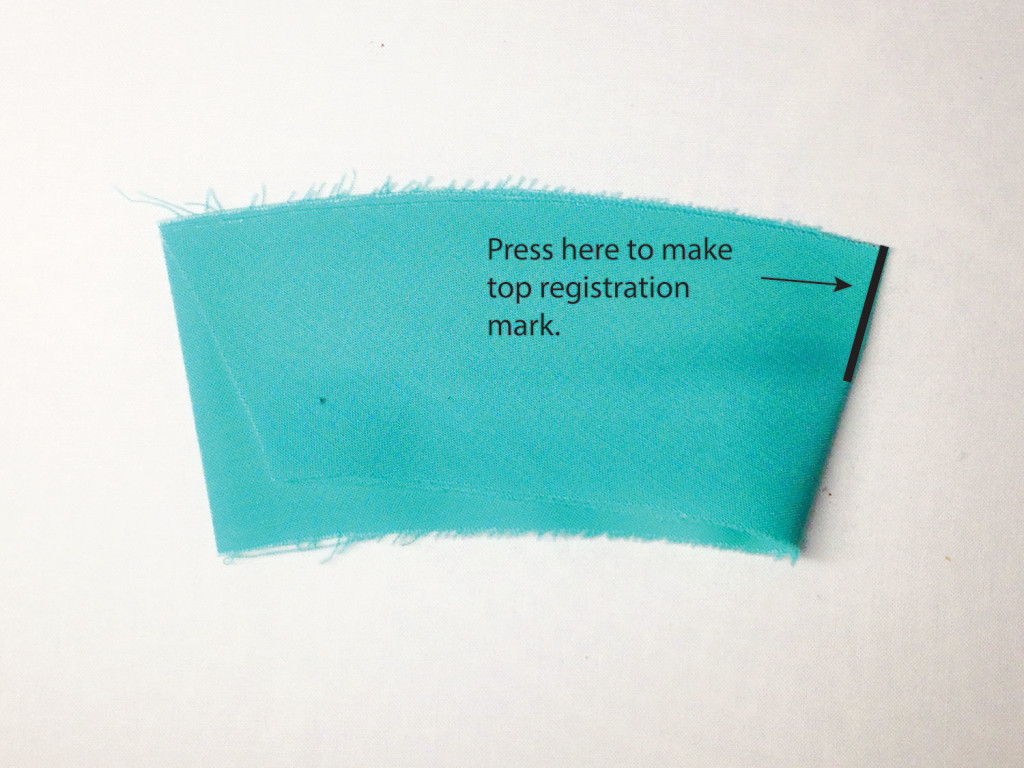
And, then match the end of the bottom curve with the middle crease and press. Once again, just press about an inch from the bottom edge.
Repeat with remaining arcs.
STEP 2: Sew
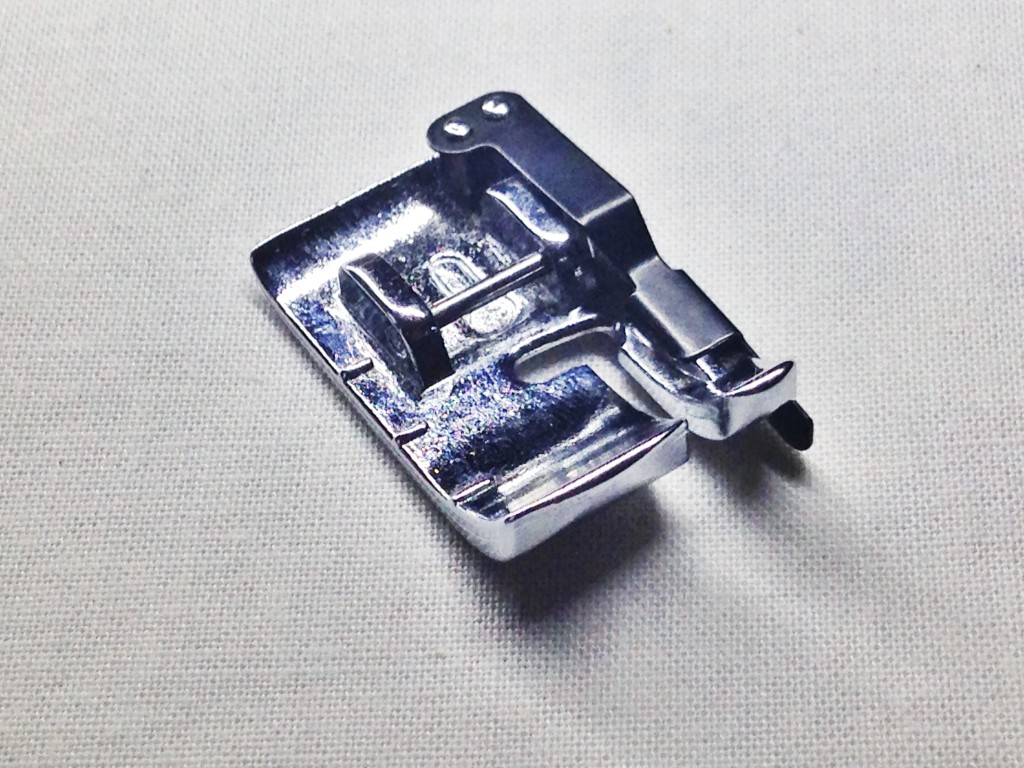
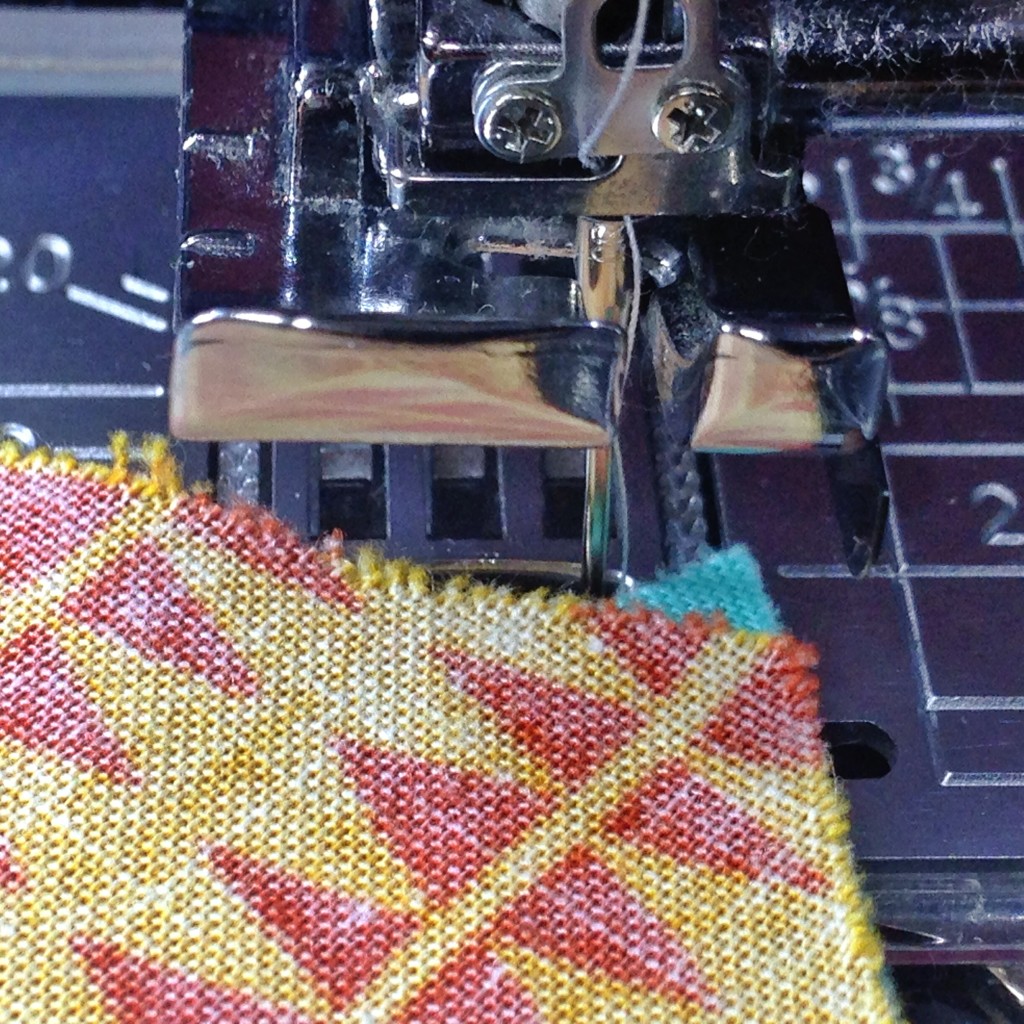
First, I find that I get the best results using a quarter inch foot with a flange on it. Then I can concentrate on matching the two edges and not have to worry about getting a perfect quarter inch seam. This is how the one I have looks and most machine brands and models will have a version similar.
You will piece your Molehills fan from the top to the bottom. Start with the top two arcs first.
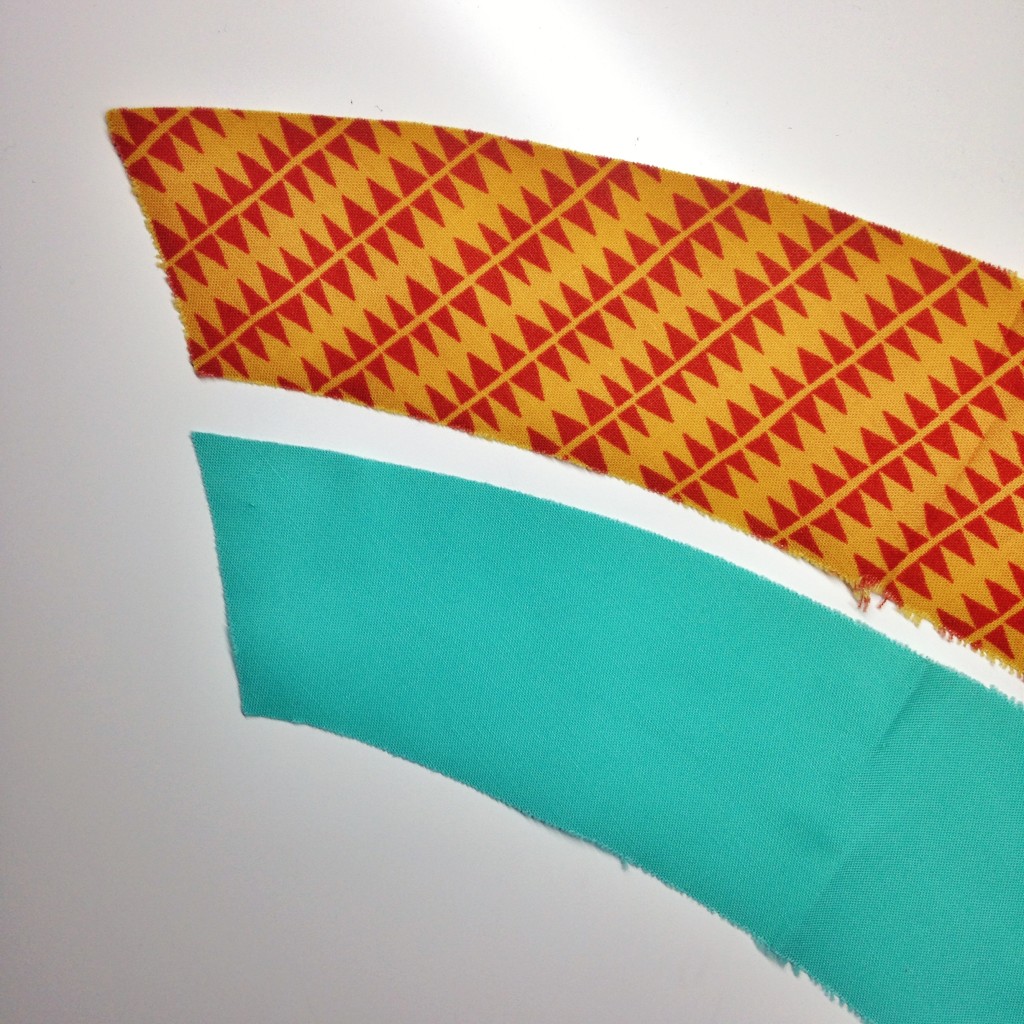
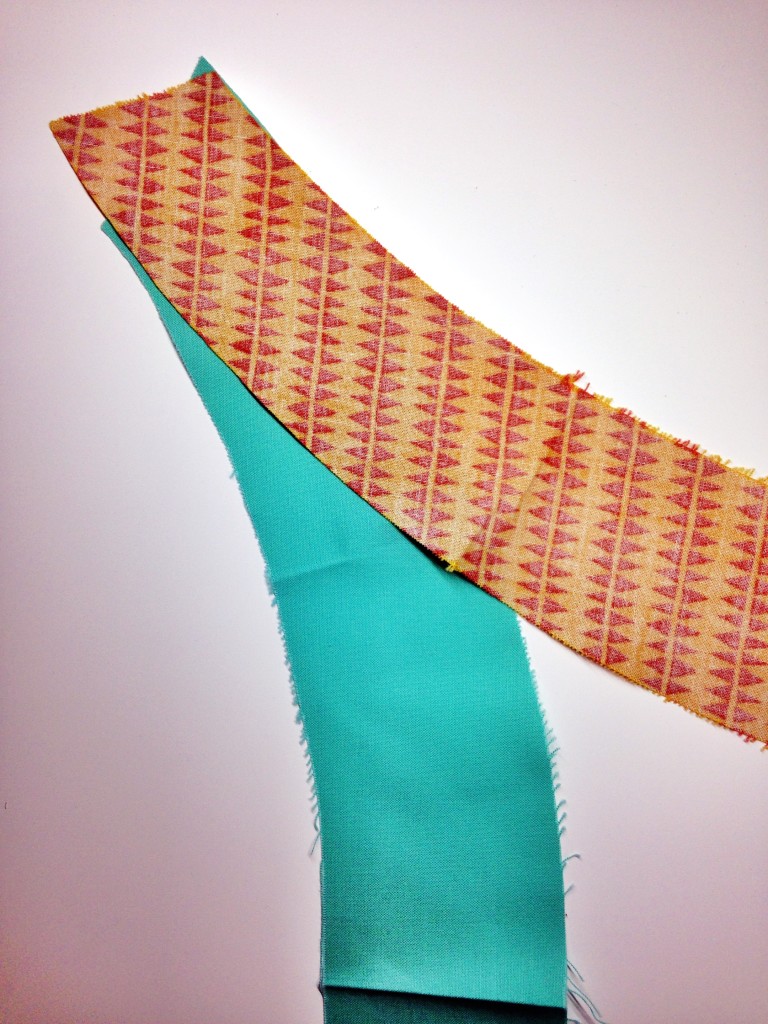
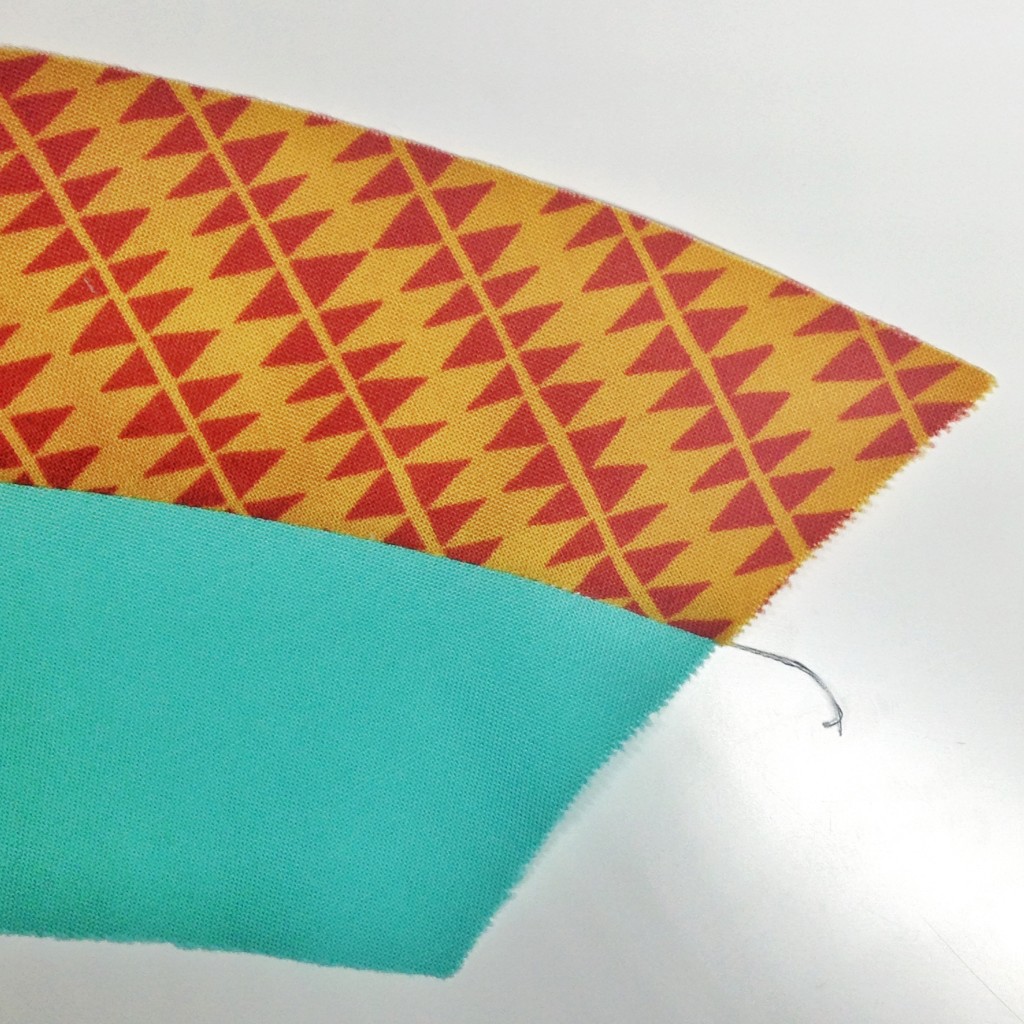
Place right sides together with the larger arc on top.
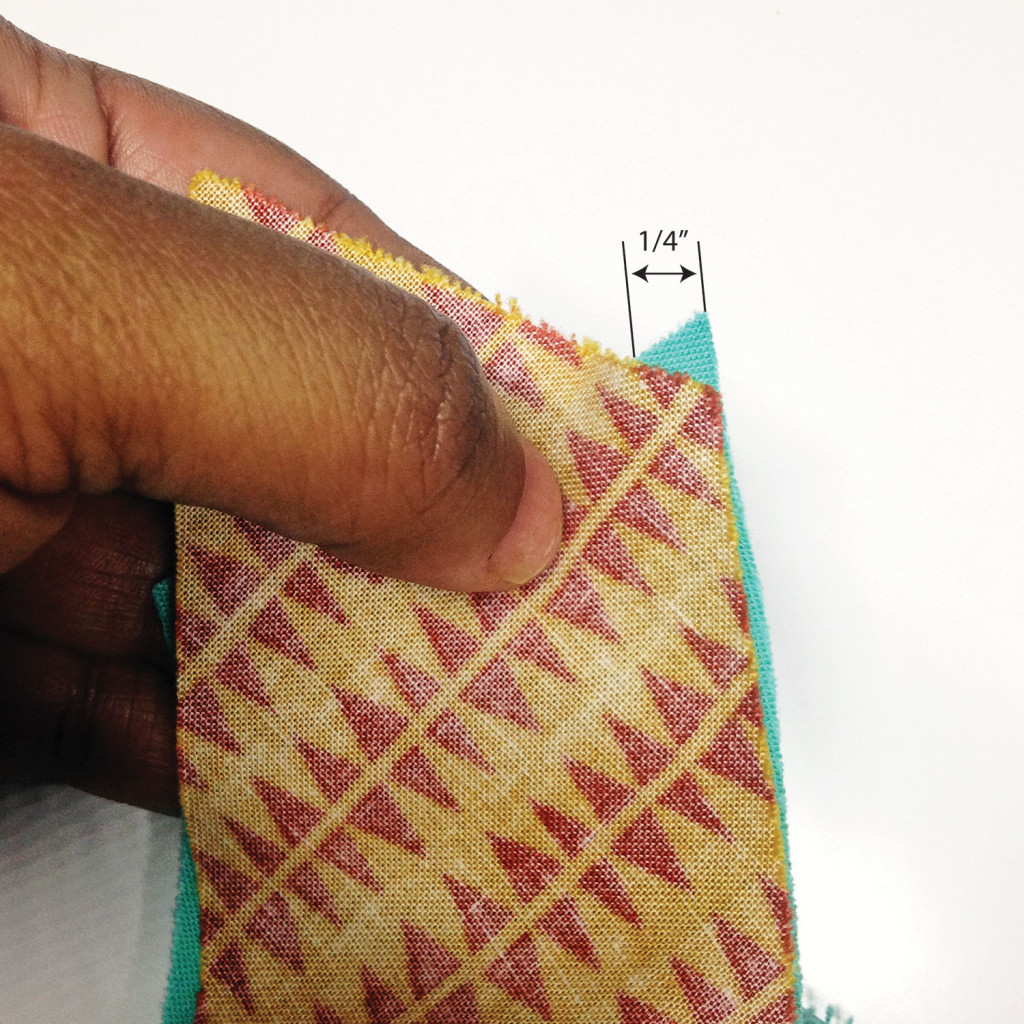
Don’t match the very tips of the ends, match at the quarter inch seam. I can eyeball that 1/4″ seam but, if you’re in doubt measure.
I also put my needle in the down position and place that V right up against that needle before I put my presser foot down. This insures perfect placement.
Sew a few stitches to hold that end in place. Match up the first set of registration marks and hold with your right hand. Stretch slightly to adjust the two edges together and sew to that registration mark.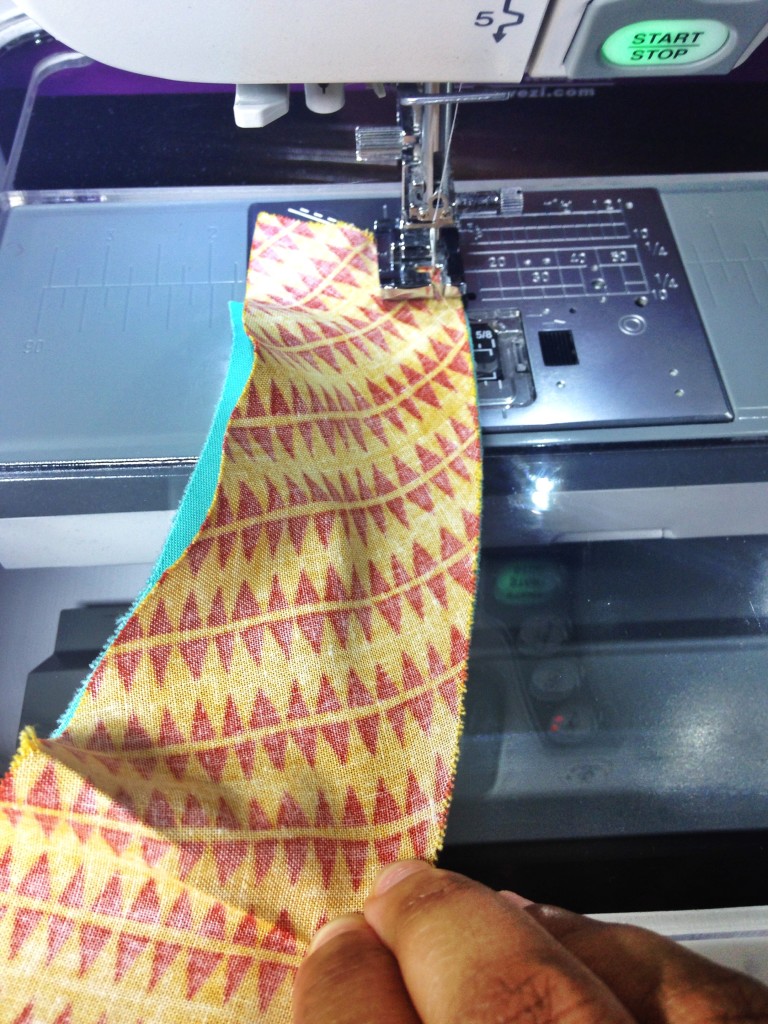
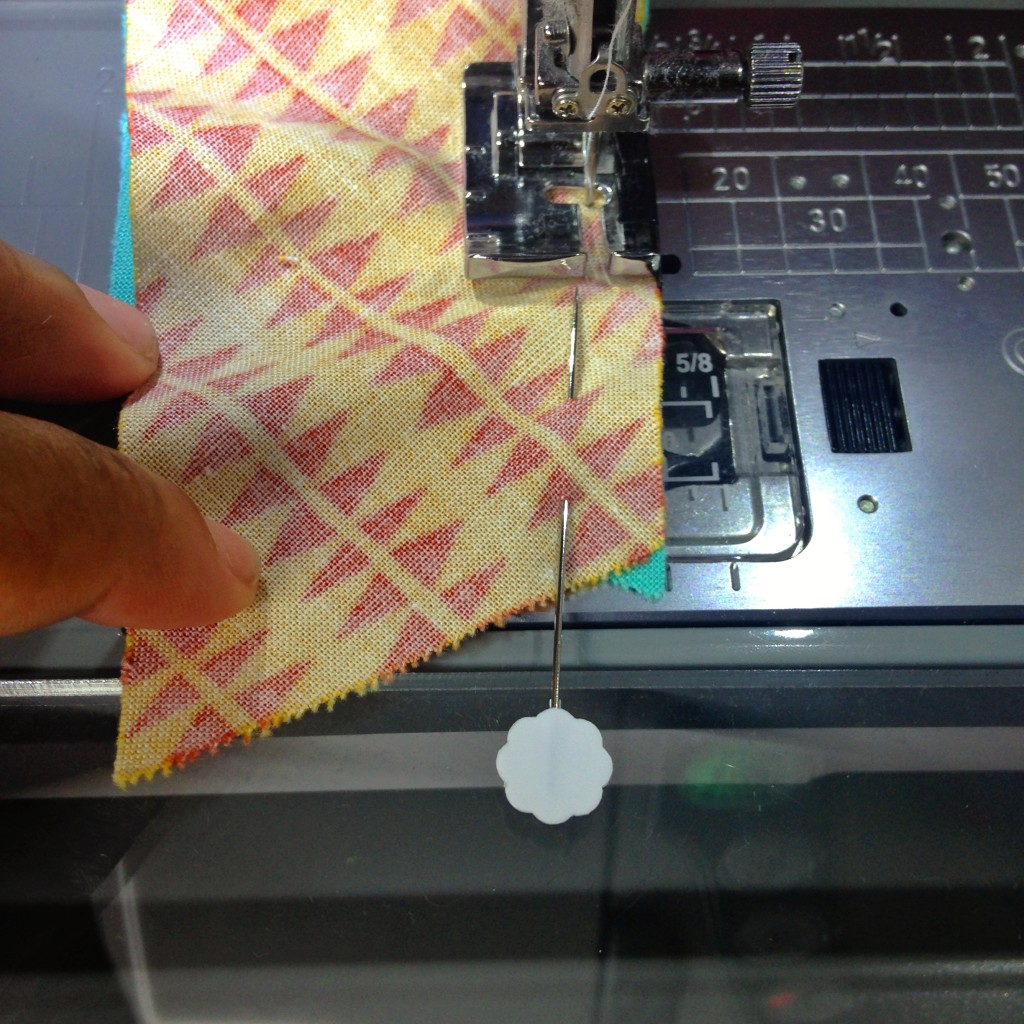
Repeat with the next two registration marks. After you’ve sewn to the last registration mark, match up the ends at that 1/4″ seam. This is the one place that I might use a pin. I pin parallel to the seam with the head of the pin at the end so that I can pull it out as it is fed under the needle.
Your first seam is in!
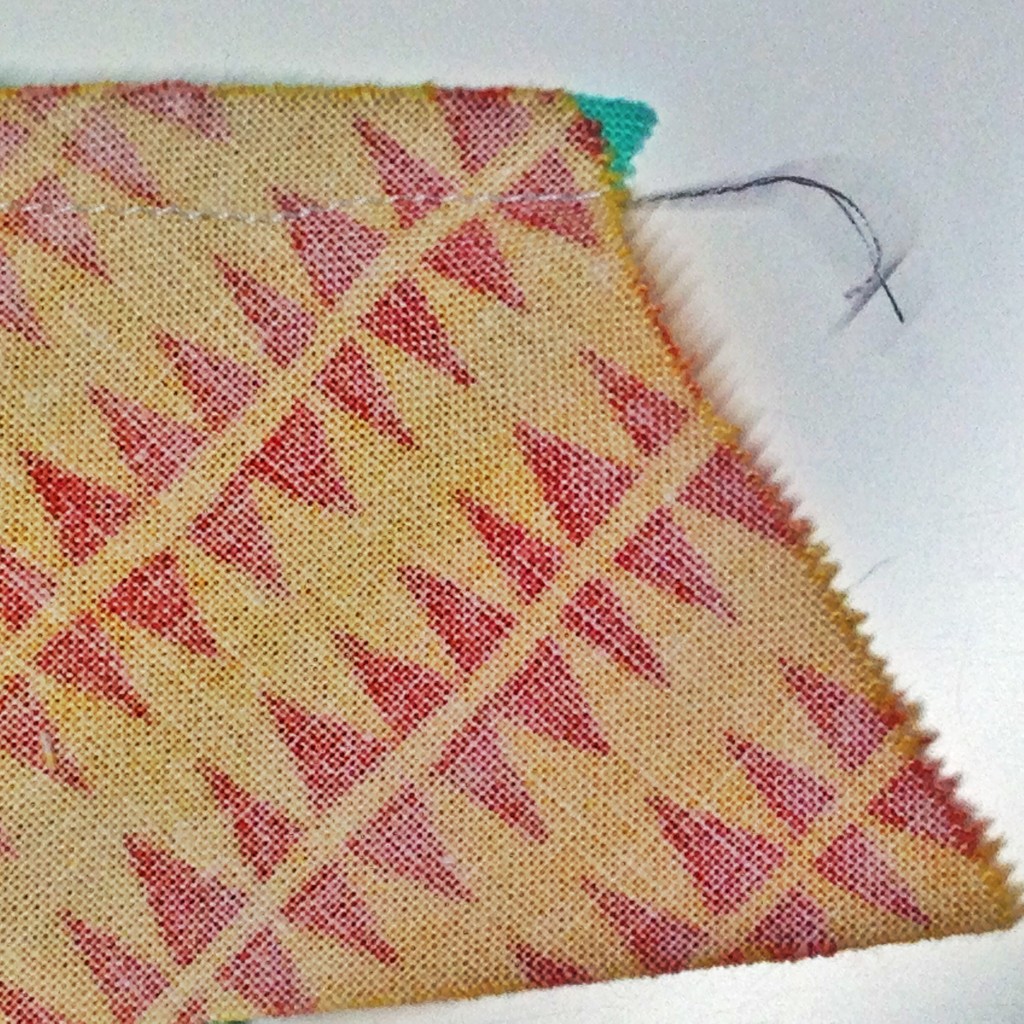
Perfect alignment. Or – perfect enough! 🙂
Repeat for the remaining three arcs to sew your Molehill.
STEP 2: Press
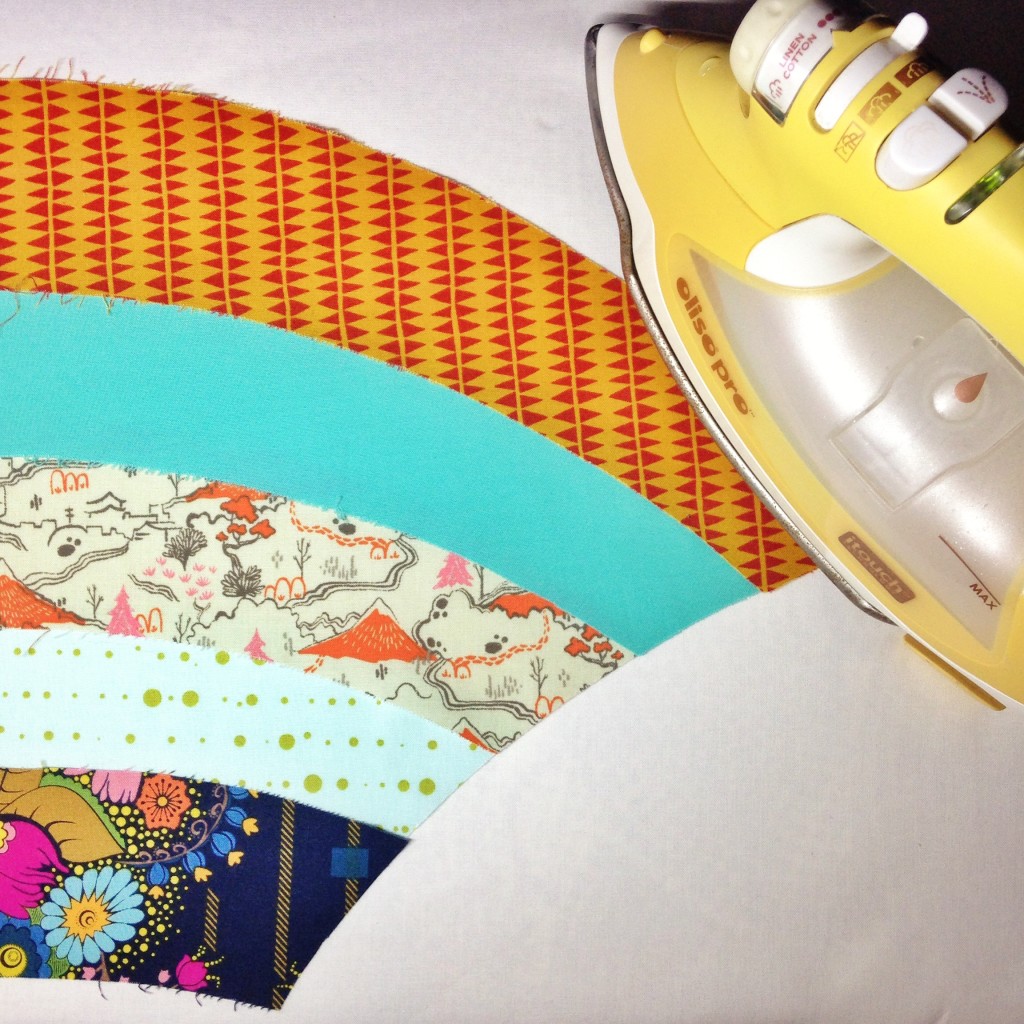
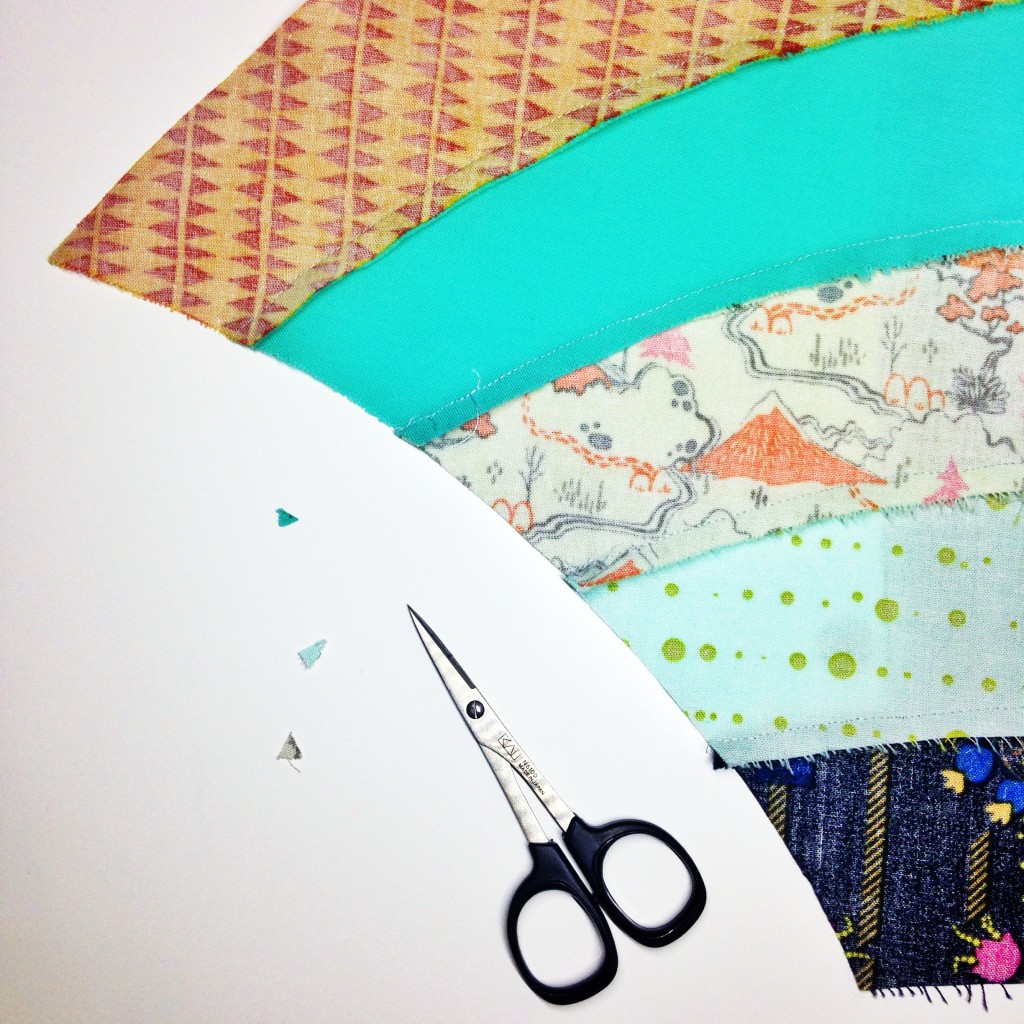
Once your Molehill fan is sewn, press the seams down towards the bottom of the fan. Then trim the dog ears.
Repeat!
Remember, if you’re sewing along tag your Twitter, Facebook, or Instagram posts #molehillsquilt!

