You may hear me jokingly say I’m a lazy quilter but, I don’t ever believe in compromising quality and workmanship and I LOVE a professional finish when I sew. This means even on the insides of projects or in places that wont be seen often – like the inside of a pillow. I’ve serged seams, sewn full linings, put bias tape over the seam allowance – all kinds of things to achieve a professional look. But, after I figured out how to do the “magic pillow facing”, I think I will only make pillows this way now! It looks so professional. Essentially, you line the pillow front with a facing that encloses all the raw edges! And, it just takes one extra 4″ seam and one extra turn.
I had a heck of a time figuring out a title for this that would make sense. But, it really does feel magical when you do it. And, it’s more of a facing than a lining. So, there you go.
You can use this technique to make a pillow that has an envelope back or a pillow with either an invisible or lapped zipper put in. Whichever you choose, sew your pillow back as you normally would first. This tutorial will use an envelope back for ease of demonstration.
You can also use this technique with any size or shape pillow! This tutorial assumes a 1/4″ seam width. Adjust to fit your desired seam width for assembling your pillow.
Here we go:
- First, your pillow front, back, and facing should all be the same size. If they are not trim down to size.
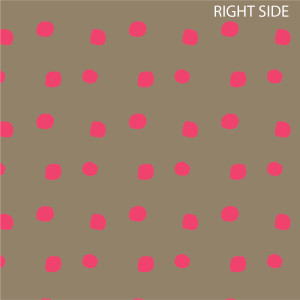
- Place pillow front RIGHT SIDE UP. This can be a solid piece of fabric, a patchwork piece, or even a quilted pillow front. If you’re going to quilt your pillow front just quilt the pillow front onto batting since you’re effectively adding a facing to the pillow front with this technique.
- Place pillow back WRONG SIDE UP on top of pillow front. They will be RIGHT SIDES TOGETHER.
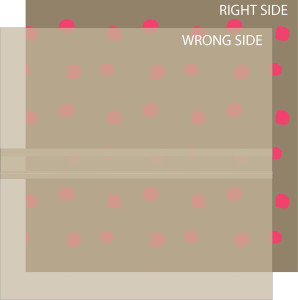
- Align outside edges, pinning as desired. At the bottom (and away from any join) , sew about a 5 inch long seam 1/4″ from the edge of your pillow. Note: If you have a zipper on your pillow back then unzip it here!
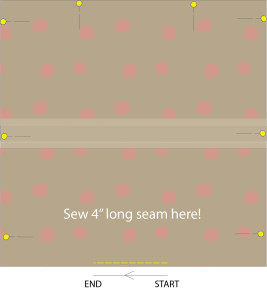
- Place pillow facing WRONG SIDE UP on top of pillow back.
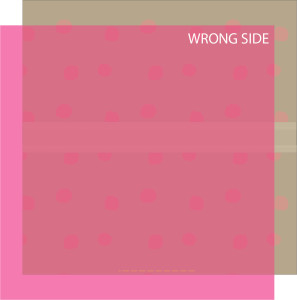
- Align outside edges pinning as desired. On the facing, mark the beginning and end of the 4 inch seam that was sewn. Mark with chalk or use a few straight pins. This will be your beginning and ending marks for your next seam.
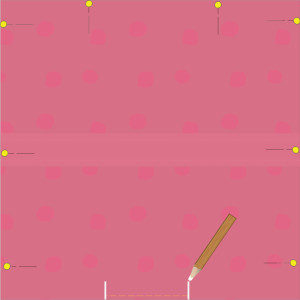
- Starting at the end mark of the 4 inch seam, sew with a 1/4″ seam all the way around your pillow stopping at the other mark for the 4 inch seam.
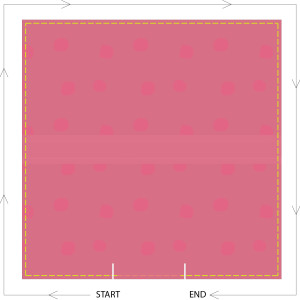
- Reach in through the 4″ opening at the bottom and turn your pillow right sides out. You will see the RIGHT SIDE of the facing on one side and the WRONG SIDE of the pillow back.
- Then reaching through the opening of your pillow back, turn your pillow right sides out again. You will now see the RIGHT SIDE of the pillow front and the RIGHT SIDE of the pillow back.
- Poke your corners out.
- Whip stich the 4 inch opening closed in the bottom.
- Look at that magical pillow facing! Don’t you feel fancy?
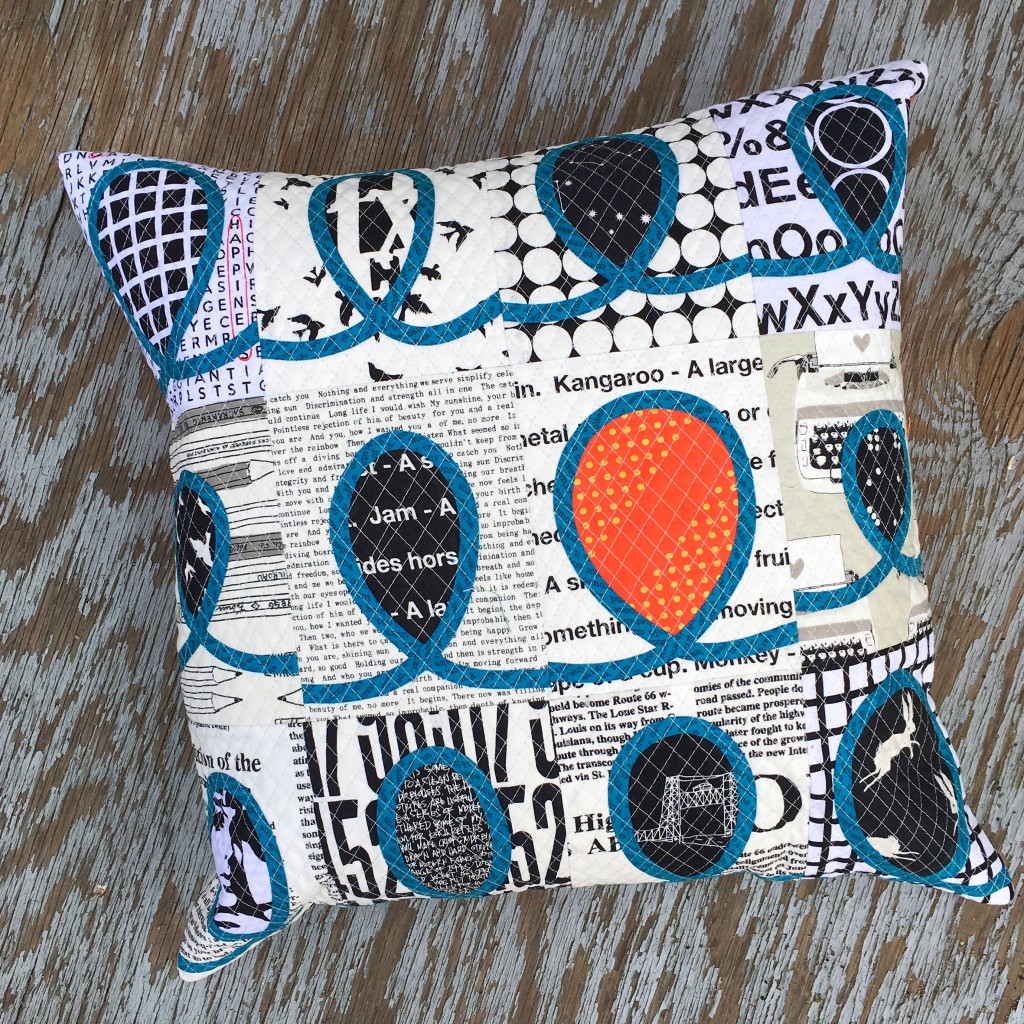
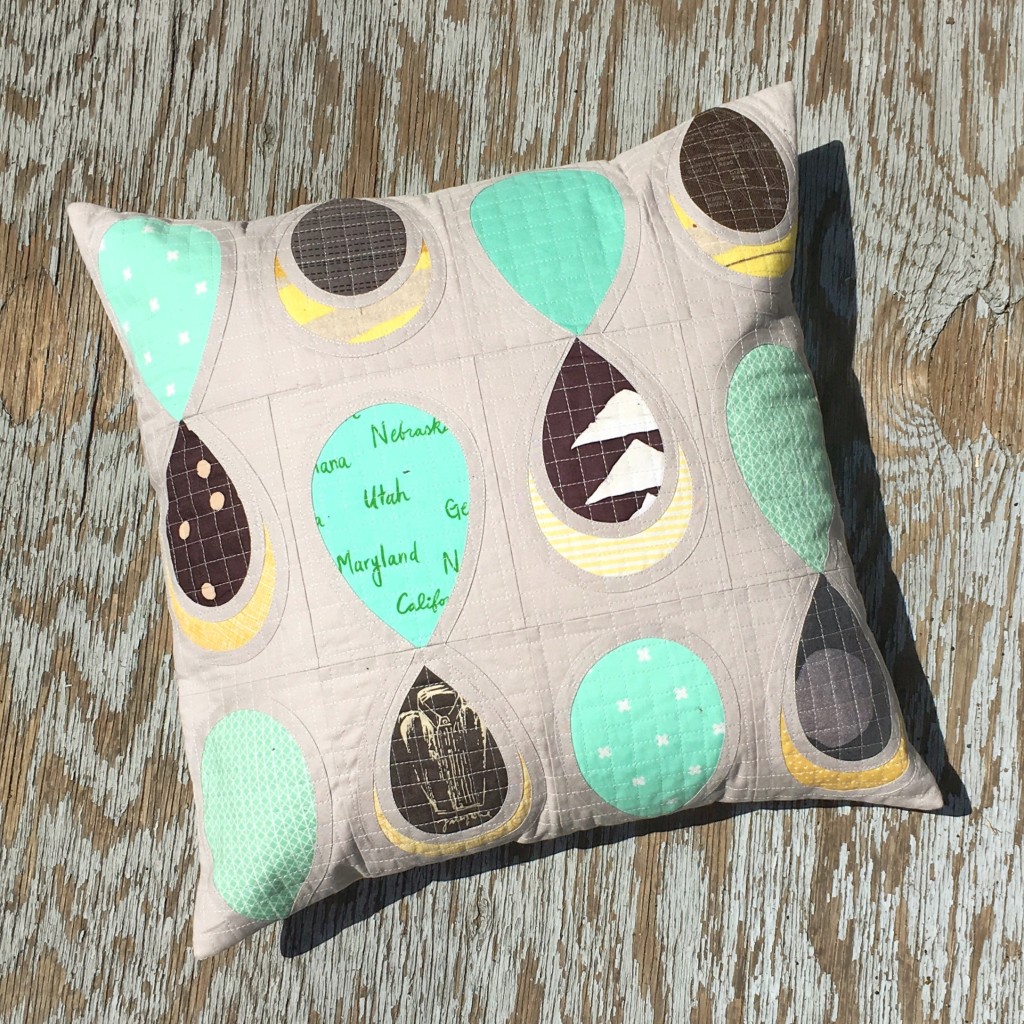
Here’s one pillow I made using that technique:
It’s hard to photograph the inside of a pillow but, here’s a peek at how the inside looks. The pillow back is to the right and the facing is to the left. See, magical huh?!
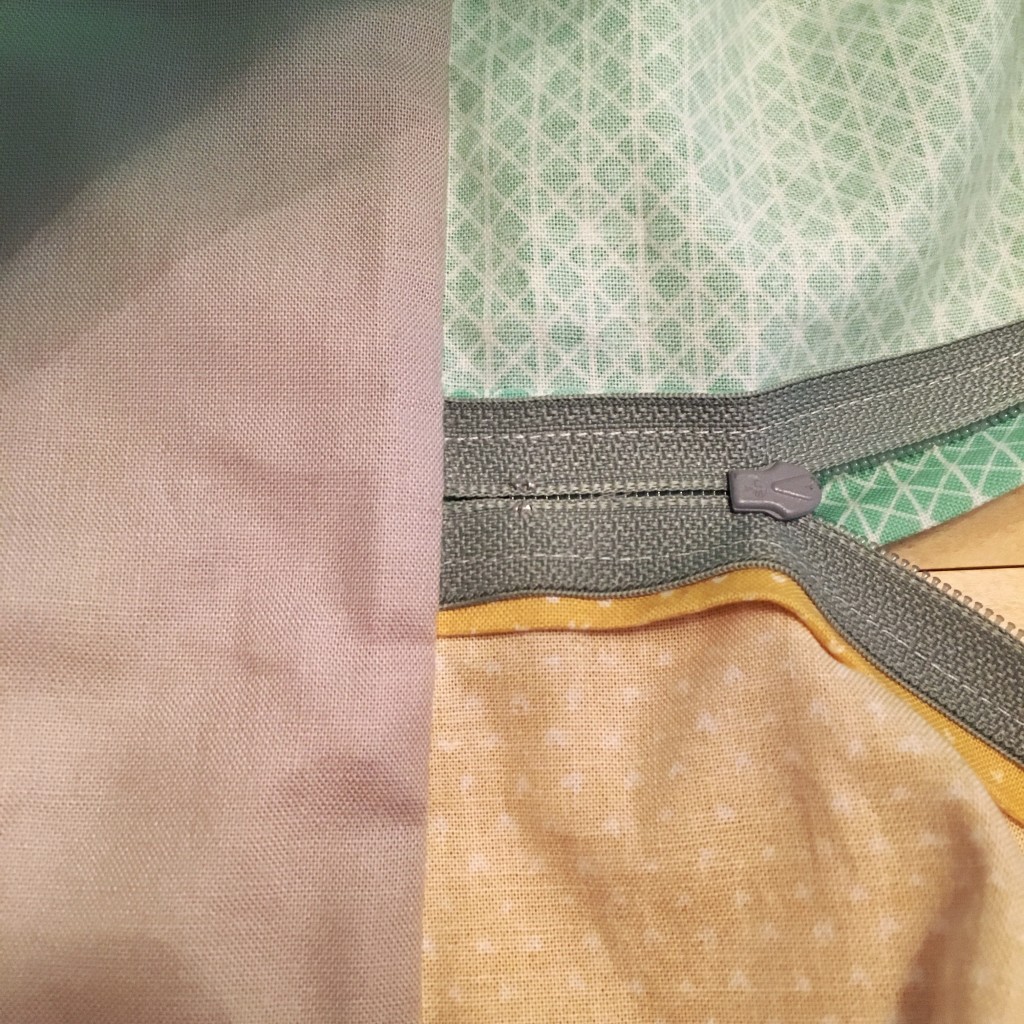
Let me know if the last steps aren’t clear. I’ll try to take some pics to help. And, if you try it – let me know how it turns out!
Happy sewing!
